Wall painting water-based paint a simple type of finish that everyone can handle with their own hands. The distribution of this finishing material is due to its variety of properties, availability, environmental friendliness.
The choice of water-based paint
The choice of mixture for painting depends on the desired end result, the price of the material, its properties. The benefits of water-based paint and application tips in video from the finishing experts
Varieties in composition
For each room there is an optimal variant of water-based paint, in all of them water acts as a solvent, the mixture does not irritate the skin, respiratory tract. When working with it, protective equipment for hands and respiratory tract is not needed. Easy to clean from clothes and tools under running water.
Acrylic
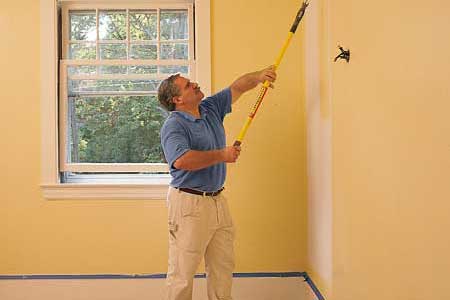
The most common is acrylic water-based paint. Manufacturers offer many options with different properties.
It is produced in various degrees of whiteness, on which the price depends. Low whiteness is good for tinting in soft colors. To obtain a bright saturated color, a colorless base is purchased. High whiteness is usually chosen for application to the ceiling, it is not advisable to buy it for tinting - to drown out the snow-white pigment, you need to use a lot of color.
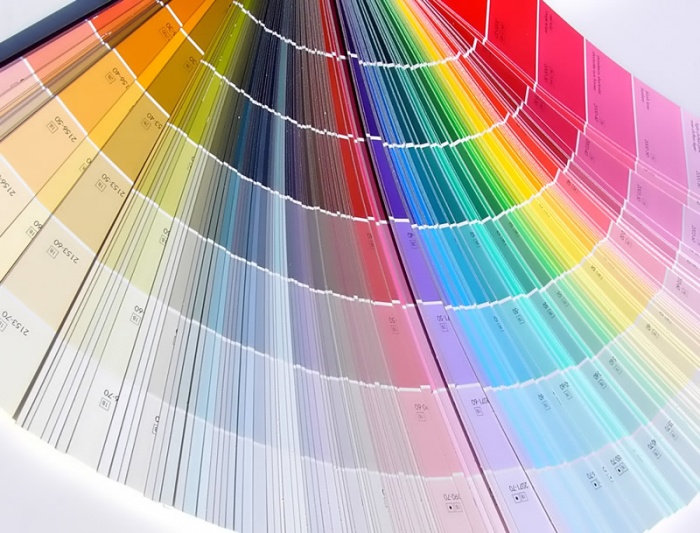
Latex additives create a more flexible, wear-resistant compound. Depending on the amount of latex, there are several types of finishing surface, which:
- not afraid of water, resistant to detergents - a lot of latex;
- wiped with a damp cloth, but afraid of a stronger impact - enough latex;
- does not wash, but does not grind when held by hand - little latex;
- grinds - no latex.
The price of the mixture increases in direct proportion to the amount of latex
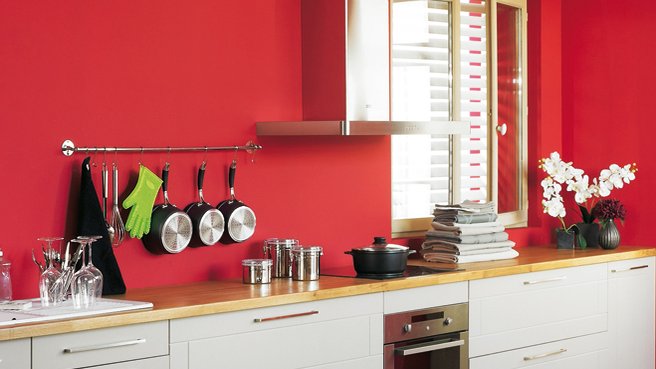
Washable water-based paint withstands frequent washing, it is chosen for painting the walls of corridors, kitchens, children's rooms. Some use inexpensive, low-latex paint for children's rooms, and when blots appear on the wall, they are simply repainted. Such cosmetic repairs are easy and cheap to do with your own hands, the surface of the walls will always be updated. But for this, there must be residues of the mixture of the same color. It is impossible to make an absolutely identical shade with your own hands, so there is a free computer tinting service in hardware stores. This is very convenient, because if there is a shortage of water-based paint, you can return for additional purchase and get exactly the same shade.
Silicone
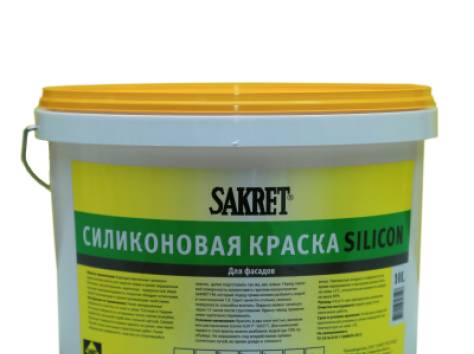
For rooms with constant high humidity, silicone water-based paint is used. It is vapor-permeable, prevents the formation of mold and mildew on the walls, and is ideal for do-it-yourself processing of mineral surfaces. Expensive but very durable. It can be used for painting rooms on the basement floor, baths, saunas, swimming pools.
silicate
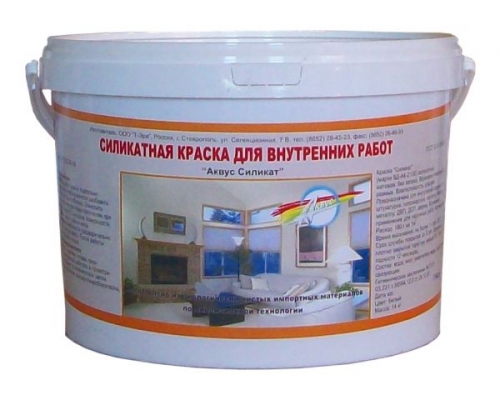
Silicate water-based paint - an aqueous solution of liquid glass. When painting walls, it creates a very durable coating that allows air to pass through and is resistant to temperature changes, retains translucency even in color. Skillful DIY application can create the effect of a fresco or Venetian plaster.
It is used for outdoor work, for interior painting of basement walls, saunas, swimming pools. Coating service life up to 20 years.
The work of the artist with silicate water-based paint, a master class on creating a unique drawing on the wall with your own hands on video
Mineral
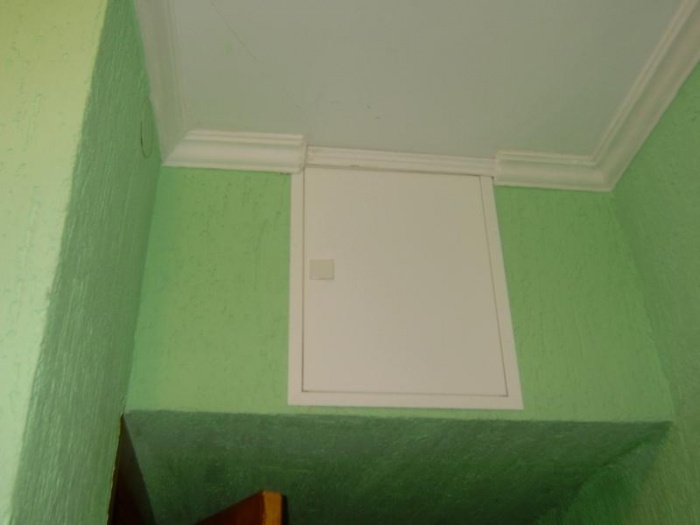
Water-based paint made from cement or slaked lime is the cheapest type of wall painting. It is used when undemanding to decorative qualities and service life. Can be used for painting walls in utility rooms. The addition of color improves the decorative qualities, it is more expedient to make the color for such cheap painting with your own hands. There are no external differences from more expensive water-based paints, but you should not hope that the surface of the walls will remain unchanged for a long time.
Polyvinyl acetate
Do-it-yourself wall painting with polyvinyl acetate water-based paint has high strength, resistance to pollution, and ease of cleaning. The mixture is thick and inexpensive, it can be applied directly to the plastered wall. It is used for painting walls in rooms with high traffic.
Textured
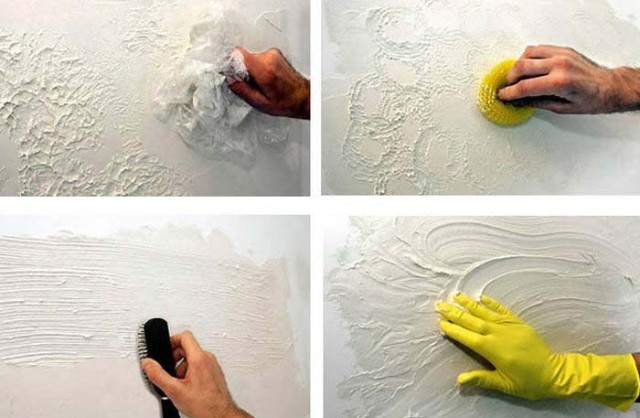
Acrylic water-based paint with the addition of grains of various textures can imitate when painting decorative plaster. The relief of such a coating is much less, but the application technology is simpler and the cost is lower. With the correct application and formation of a pattern with your own hands, you can create original design walls.
All types are available in various degrees of smoothness: matte, glossy, semi-gloss, semi-gloss. At a washable matte wall, with frequent washing, the upper decorative layer. The same goes for glossy finishes. For places of frequent contact, strong abrasion, you should choose the option of semi-gloss or semi-gloss painting of the walls.
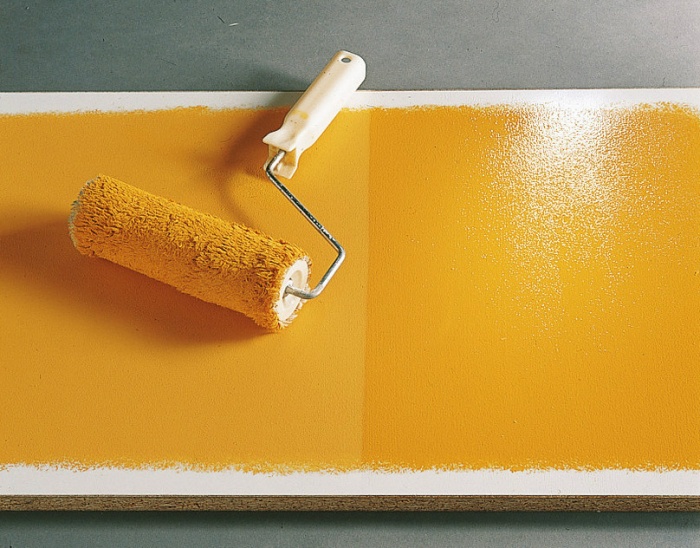
Material consumption is an important indicator, it depends on viscosity and hiding power. Very often, a water-based mixture, which is more expensive per unit volume, turns out to be cheaper in total consumption due to fewer layers required and better elasticity.
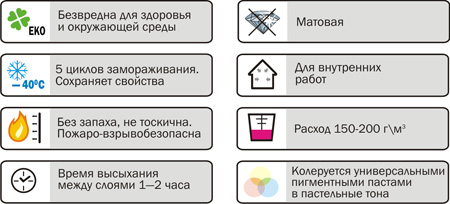
For quick do-it-yourself painting of walls, it is convenient to use a water-based mixture with a guarantee of hygroscopicity, which does not flow or drip when applied to walls and even the ceiling. It costs much more, but does not require furniture protection. Used when the value of time is high.
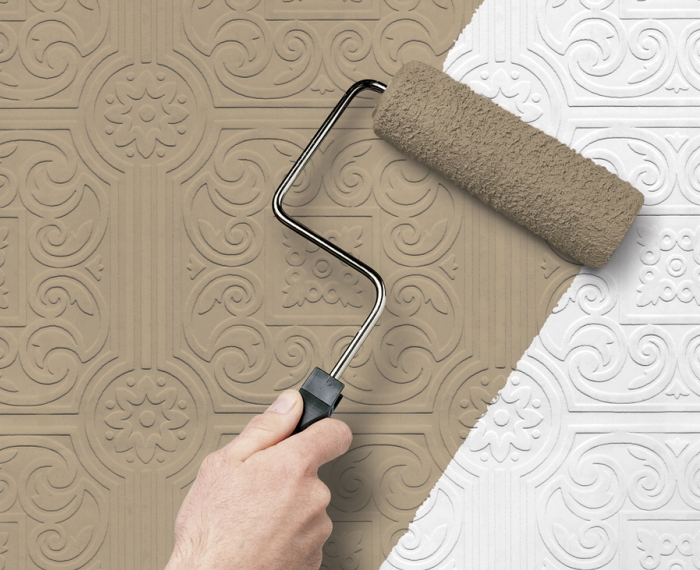
For wallpaper painting, paint of the “wallpaper” category is selected, it is more elastic, applied in a thin layer and does not hide the texture of the base.
Important! When choosing a water-based mixture for painting walls with your own hands, you should take into account the manufacturer's recommendations indicated on the package. They guarantee long-term operation under the necessary conditions.
The more expensive the mixture for painting, the less the possibility of not coping with the application with your own hands.
Foundation types
Water-based paints are suitable for work on all types of substrates. It can be: wood, brick, concrete, metal, slate, glass, plaster, wallpaper. Preparation of the surface of the walls for painting with water-based paint depends on the design features.
In the classic version, perfect alignment of the walls with plaster or drywall is required. A weak base should be beaten off and reapplied, otherwise it crumbles, the repair will have to be repeated. You can check its strength by lightly tapping on the wall.
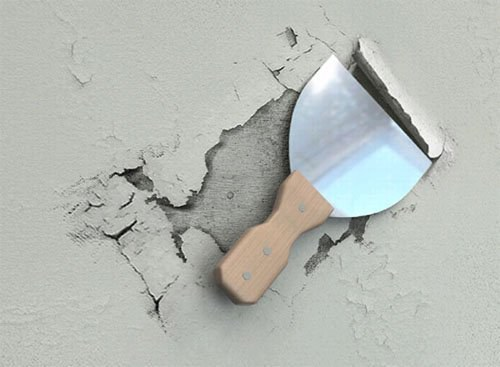
If there is an old layer of decorative coating, it must be removed with an iron brush or a special remover. The wooden surface is treated with an antiseptic. Concrete, brick, slate, plaster - deep penetration primer. Metal - primer for metal. Glass - concrete contact of fine grain size. Wallpaper - universal primer.
Important! The primer is always a necessary link between the base and the decorative coating. It improves the adhesion of the layers.
Painting technology
Painting walls with water-based paint with your own hands is a simple process. But violating the manufacturer's recommendations can spoil the final result.
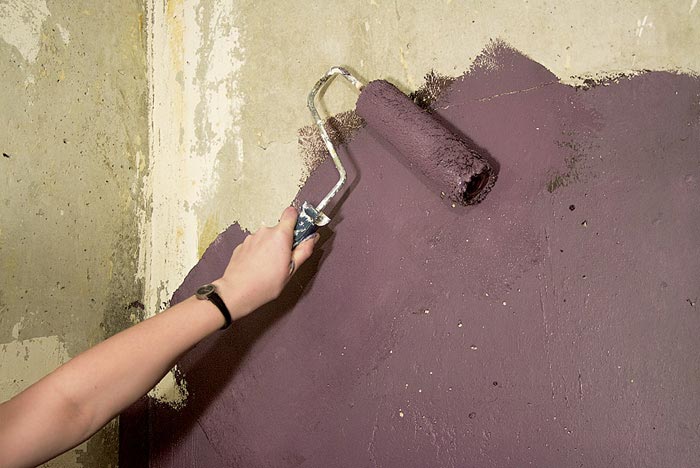
Roller painting
The staining technology is as follows:
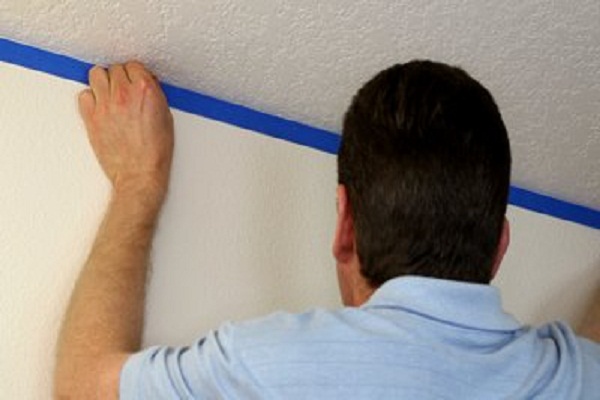
Important! The desire to paint over everything with just one thick layer will ruin the surface, smudges will appear, a visible difference in color due to the thickness of the application.
Spray painting
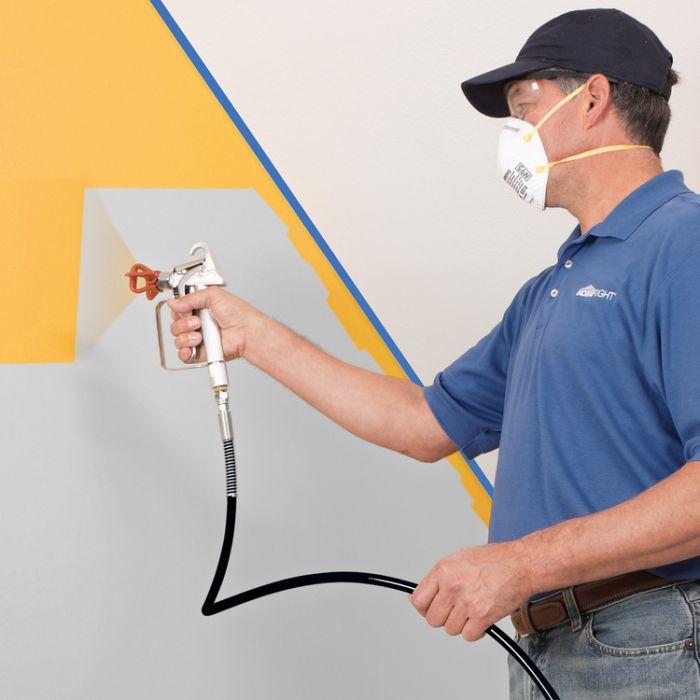
Painting the walls with water-based paint with your own hands will be much easier with the help of an airbrush. A modern tool guarantees uniform application and a thin layer. To do this, it is necessary to prepare the mixture: stir, strain through cheesecloth. Water-based paint is poured into the tank, applied to the surface with a spray gun.
Such work requires the absence of furniture or its very good protection with special packages. Painting the wall with an airbrush with water-based paint also occurs in several layers, but they dry much faster. In time, the tool is washed very easily, with the help of an abundance of running warm water. It can be rented from a hardware store.
Important! When painting walls with an airbrush, you must wear a mask.
Features of applying textured paint
Textured water-based paint is applied with a trowel, coarse brush, roller. The final pattern on the wall depends on the method of painting, the graininess of the mixture, the number of layers.
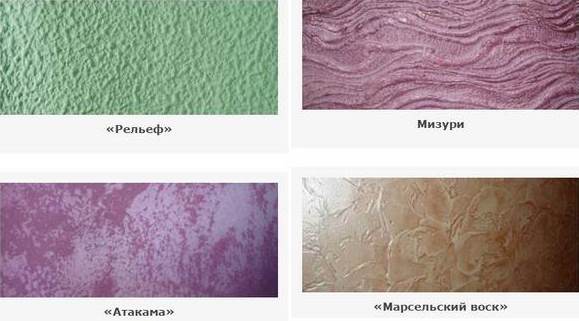
To create an additional decorative effect from painting, stencils, curly rollers are used on the walls. With the help of imagination, the material allows you to create your own unique design, but even without the use of various effects, an interesting texture of the walls is obtained.
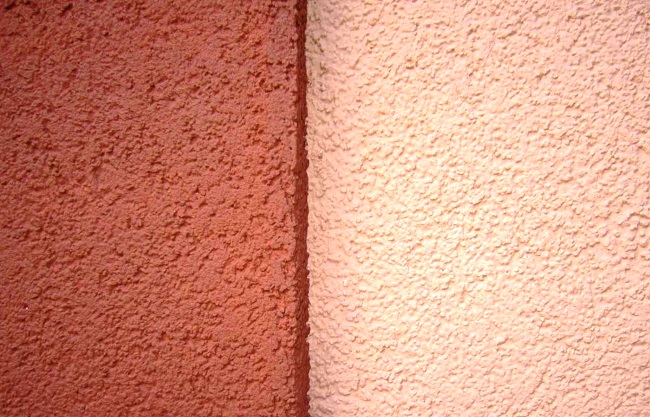
Important! Such a mixture can be deformed for 15 minutes, then it becomes viscous, the surface is already deteriorating from exposure. Shaping should take place immediately after painting the wall.
An interesting painting master class from the manufacturer of textured water-based paint is presented in the video:
Walls painted with water-based paint, can be a background for modern design or create your own uniqueness.
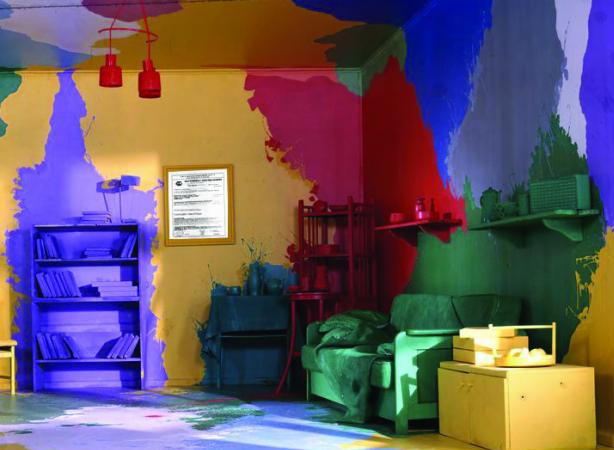
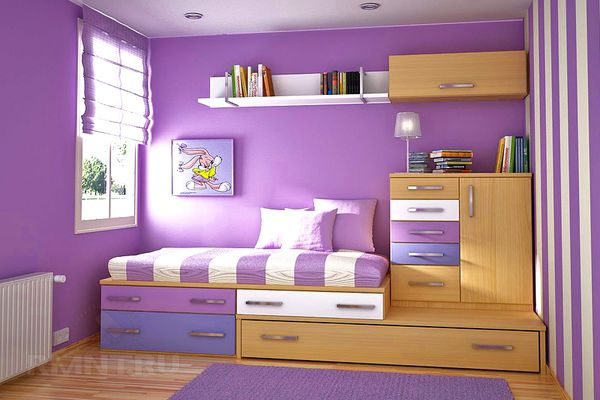
The bold experimentation of colors in a teenager's room looks more like a piece of modernist art than a living space. Perfect order must reign here, otherwise the feeling of chaos will crush. It is impossible to stay in such an interior for a long time when the design gets bored - re-painting the walls with your own hands will not be a big deal and cost.
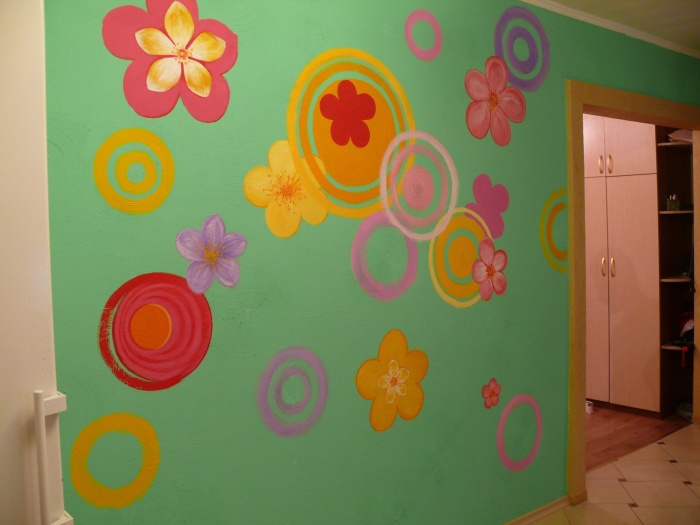
And this cute wall can be in the nursery or occupy part of the corridor. A simple design, created by hand, brings a feeling of warmth, comfort and eternal summer. The drawing is applied with water-based paint in several layers, after the previous one has completely dried. Adjacent walls can be painted in lighter colors.
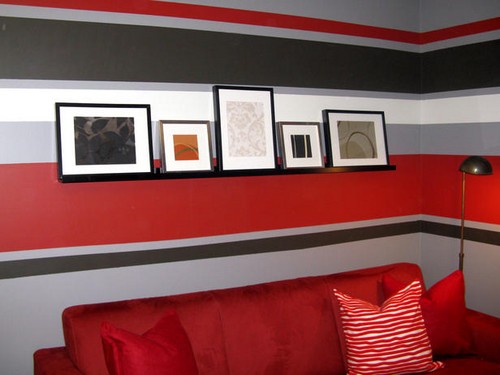
Painting with bright contrasting stripes is suitable for a spacious room of a dynamic owner. Not everyone can endure such a combination of colors. Only a strong personality with precise goals in life will feel comfortable within the walls of such an interior.
Conclusion
Water-based paint is an excellent material for painting walls. Creating a classic calm room design and fulfilling desires from a sea of fantasies of the owners is possible with the help of such a simple material. Painting any walls is possible with a suitable water-based paint, it can be easily done by hand. For a high-quality finish layer, the correct preparation of the base plays a special role.
Painting walls with water-based paint remains one of the simplest and most affordable types of finishes. The variety of colors and excellent results allow it to maintain its popularity. The application technology is very simple, you can handle it yourself without the involvement of specialists. Wherein finished surface fits perfectly into any design, creating a modern interior.
Comparing water-based paint with other types of finishes, the following advantages can be distinguished:
- it will take about 2 hours to dry;
- contains only safe, non-toxic components;
- does not have an unpleasant odor;
- you can get any color or shade.
The main components of the paint include latex, filler, thickener and antiseptic. It can be applied with a roller, brush or spray gun. For do-it-yourself work, the viscosity of the composition should be no more than 45 s, and when using an airbrush - 25 s. Material consumption is on average up to 200 ml per m2. When choosing it in the store, you also need to pay attention to the expiration date, storage conditions. If the paint is frozen, then the structure is broken, it cannot be used.
Types of water-based paint
Despite the name “water-based paint” traditionally used by everyone, there are several types of this material. The main component by which the paint is divided into separate types is a polymer - acrylic, silicone, silicate, mineral. It affects the convenience of working with the composition, its performance characteristics.
Acrylic paint is made from acrylic resin. The latex included in it improves the hiding power of the composition, smoothes out the slightest cracks. Acrylic paint is recommended for painting surfaces exposed to water. It fits perfectly on plaster, wood, brick, glass, suitable for painting walls and ceilings. A double coat of acrylic paint can repair fairly large damage.
Using silicone resins, a silicone compound is obtained. Its purchase will be expensive, but the result will make up for the costs a hundredfold. Even one layer of it is able to eliminate cracks up to 2 mm wide. The coating has vapor permeability, does not become infected with a fungus. It can be washed without fear of spoiling.
Silicate paint is obtained from a mixture of water, pigments and liquid glass.
It creates a vapor and breathable layer, evenly applied to the base. It is distinguished by increased resistance to weathering, durability. But in damp rooms it is better not to use it.
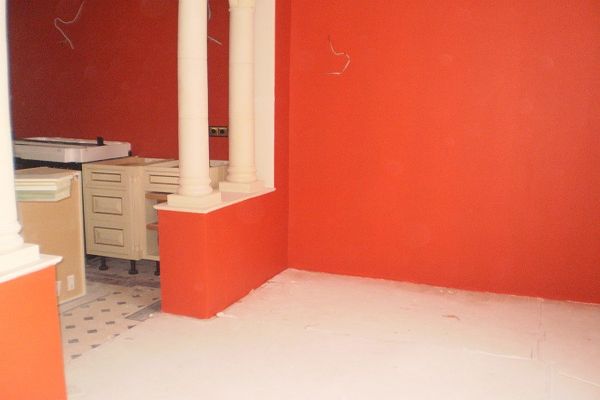
Recommended for use on concrete or cement surfaces. mineral paint. It contains cement or slaked lime, which significantly improve its water resistance. The material is suitable for painting ceilings and walls. The disadvantages of the composition include its fragility.
Color selection
An interesting fact: when talking about a water emulsion, they always emphasize its ability to transform a room, fit into any design. The base color of the composition is white. By adding a pigment of one or more shades, the composition is given the desired shade. You can do it yourself or use a computer selection.
For tinting, you need to use a color designed for water-based emulsion. It is produced from acrylic dispersion in three formats: powder, emulsion, paste. Liquid color is considered the most convenient to use. It mixes well with the base composition, creates a homogeneous mass. The finished paint fits well on any surface - plaster, brick, wood. Advantages of ready-made colors:
- allow you to get shades that are not on sale;
- have high resistance to fading;
- easy to use by hand.
The variety of possible shades is amazing. But it should be noted that it is almost impossible to repeat the desired color combination on your own. Therefore, when doing repairs with your own hands, it is better to immediately breed right amount paints. When wet and dry, the shade is slightly different. The coating will look different in different lighting, applied to a different base. Therefore, before painting the entire wall, it is better to try on an inconspicuous area. Of course, a slight variation in shade will not spoil the design of the room, but in large areas it can be noticeable.
How to mix color with paint?
When painting with your own hands, you need to properly dilute the color scheme. This should be done shortly before use. The maximum amount of color should not exceed 30 ml per 1 liter, that is, no more than 3%. A large amount of pigment can affect the quality of the paint. In order not to make a mistake with the shade, you can use this method:
- prepare 3-4 clean small containers of a known volume;
- pour paint into each and add a different number of drops of color;
- apply a strip of each type to the surface;
- choose the result you like.
Then you need to recalculate the amount of paint and drops for the desired volume. After that, you can proceed to breeding. You will need a clean container, into which no more than 20% of paint is poured. The calculated volume of color is added to it and mixed thoroughly. The finished mixture is gradually poured into the main container with paint.
Surface preparation
Before painting, the base must be freed from layers of old finishes - paint, wallpaper, whitewash. The easiest way to remove the whitewash, it is simply washed off with water. The wallpaper can be pre-wetted slightly, and then gently pry with a spatula and remove. Harder to remove old paint. It is not soaked with water, it will have to be scraped off or a special wash should be used. The surface should then be inspected for damage, mold or rust. If necessary, stains should be treated with copper sulphate.
The next step is alignment. Even small bumps or cracks under a layer of paint will take on an ugly look, spoiling the most expensive design. Therefore, they need to get rid of. Putty works great with this. Depending on the condition of the surface, only finishing or starting and finishing putties are used.
First, the surface is primed and left to dry. The starting putty contains a coarse-grained filler, so it effectively eliminates fairly large cracks and pits. The dried layer of putty is treated with a coarse-grained sandpaper. As a result, traces of a spatula and irregularities are eliminated. The coating is again covered with soil.
The finish putty is very fine in structure. It is applied in a thin layer, allowed to dry and rubbed with a fine sandpaper. To check the quality of work, use the light from the lamp. It is directed at an angle to the wall, revealing the slightest deviations. The result of the performed manipulations is an ideal surface on which the paint will lie in an even layer.
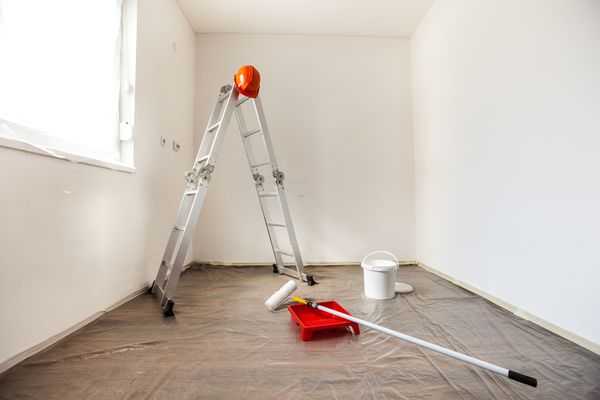
To protect parts of the walls or ceiling that will not be painted, stick a strip of masking tape on them. The same strip can be glued along the floor. At the end of the work, it is easily removed, and the surface under it remains clean. If you need to close large area, then you can use a strip of polyethylene, securing it with tape.
Foundation stage
For work you will need:
- regular brush for painting corners and joints;
- narrow brush for correcting hard-to-reach places;
- roller with a long pile;
- special bath with a ribbed surface area.
In order for the result to please with its beauty and accuracy, it is necessary to take into account several nuances. Painting should start from the corner located on the opposite side from the entrance to the room. First, take a wide brush, moisten it in paint, wring it out slightly. A strip of 3-5 cm is made around the perimeter of the room. This will help make the joints and corners neat.
For further work, use a roller. Staining is carried out in three stages:
- apply the first strip parallel to the rays of light falling from the window, continue staining in the same direction;
- then make movements in a perpendicular direction;
- the third strip is always directed to the window, and so the staining is completed.
Each stage is performed after the previous one has dried. On average, it takes up to 12 hours. In order for the paint to be evenly distributed over the roller, they are carried out several times along the corrugated part of the bath. Roller movements on the surface can be straight or zigzag. The next strip is applied with a slight overlap on the previous one. Having finished painting, it is necessary to protect the room from drafts, direct rays of the sun. Drying should not be artificially accelerated.
How to make Venetian plaster with regular paint?
To the most expensive species finishes include Venetian plaster. It is distinguished by a complex execution technology, but the result is incomparable with anything. This design looks elegant, unusual and expensive. Using ordinary water-based paint, acrylic varnish, roller, sponge, brush and sandpaper, you can imitate a "Venetian" at an affordable price.
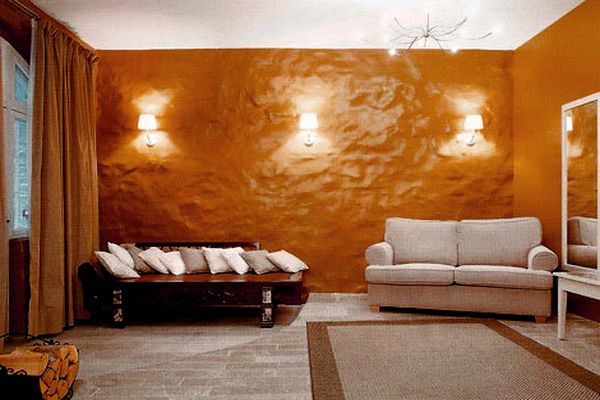
First, a strip by strip is covered with a layer of water-based emulsion on a previously leveled base - fiberboard, drywall, plastered brick or any other smooth surface. When the water emulsion dries, proceed to the creation of a "marble" pattern. It is preliminary recommended to work out strokes on a piece of cardboard.
To give the acrylic mixture the desired shade, color is added to it. Its color must match color scheme marble. For application, use a sponge, making light stamping movements. On a fresh acrylic base, you can make "cracks" with a solid rod. After the varnish has dried, the pattern is passed over with a soft brush, slightly shading the borders. Then they change the color of the varnish and apply it again to the base.
The finished coating must be given time to dry, then it is sanded with light movements. The resulting dust is not brushed off, but covered with a colorless varnish. Such actions are performed twice. This creates the inherent depth and brilliance of marble.
More and more people prefer painting walls to wallpapering. This trend is gaining momentum and taking on new forms. Using water-based paint, you can not only paint over the wall in a beautiful shade, but also create interesting textures, patterns, drawings that will make the interior truly unusual and interesting. Look at the photo of painting the walls with water-based paint with a pattern to make sure: although such work will require additional time and money, the result is fully justified.
Shade combination
The most affordable way is the original painting of the walls using several shades. You can create a gradient - smooth transition one color to another. To do this, you need to purchase paint of the same color, but four different shades. Paint each wall in order, from lightest to darkest. To carefully paint over the corners, that is, the transition point, you can use ordinary tape. If the walls are protruding, you can cover the protruding elements with a lighter paint, and those that go deep into the dark, to emphasize the volume and visually enlarge the room.
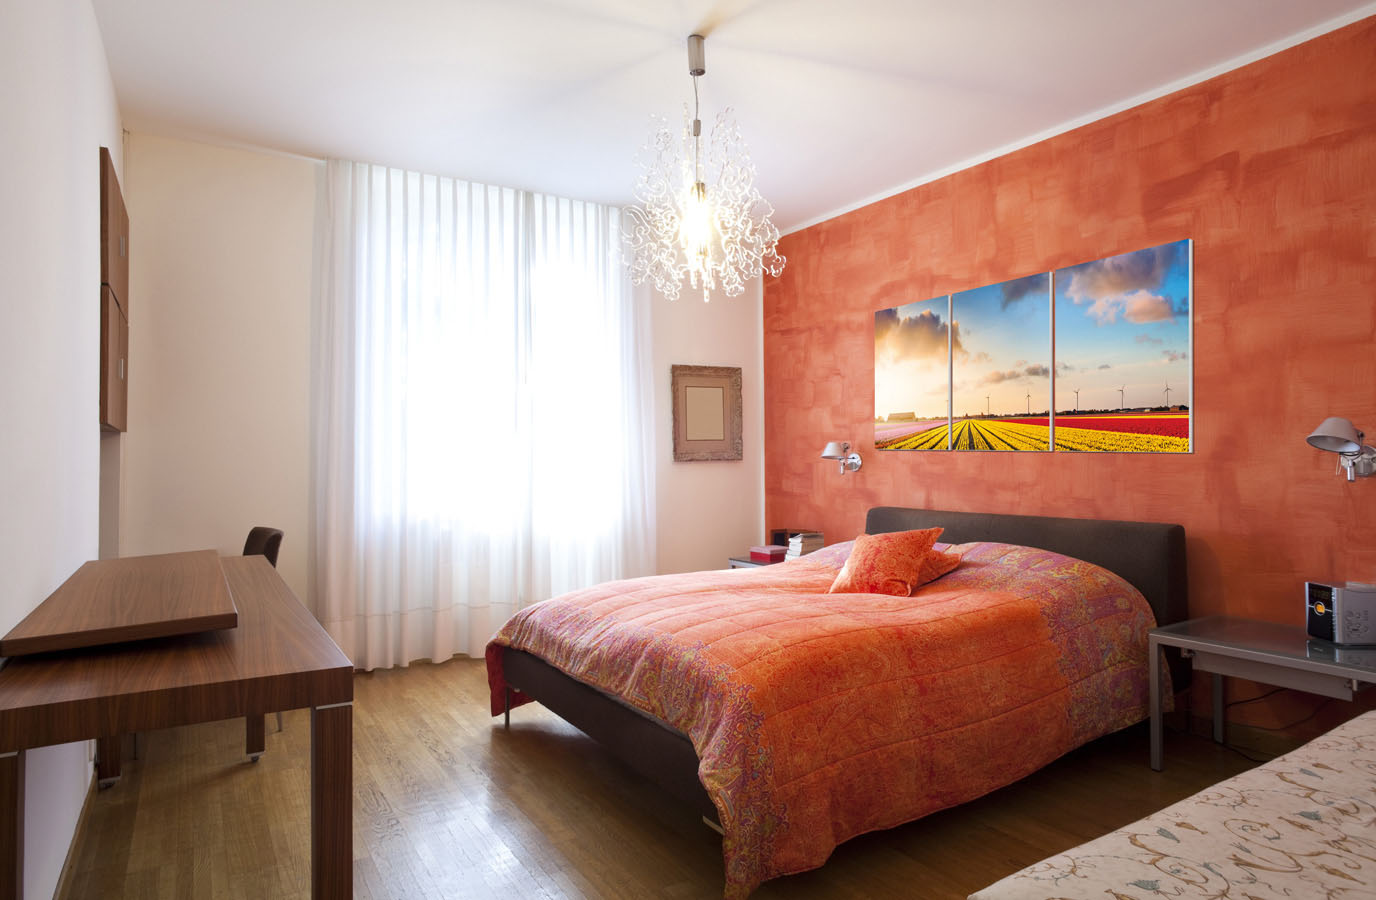
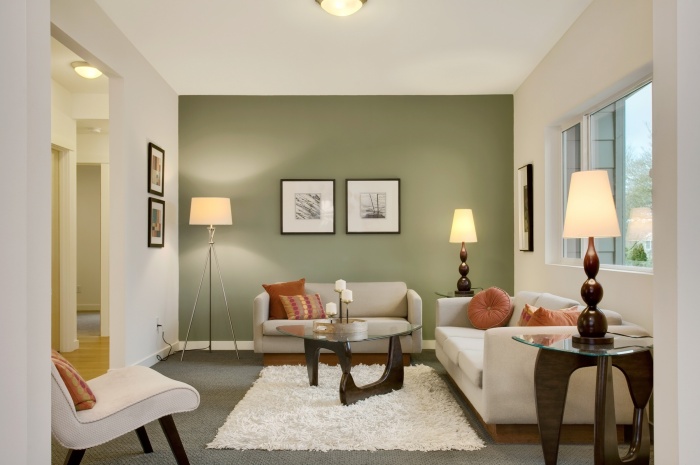
Another interesting option is to paint one wall that you want to focus on in a bright tone and the rest in a light, neutral color such as white or cream. Usually, a wall is distinguished, which is located opposite the door, so that the accent immediately catches the eye.
You can draw horizontal and vertical stripes with duct tape. elegant and stylish solution- paint the lower part of the room with a dark color, and the upper one with a light one, and install decorative panels around the perimeter. Using the same adhesive tape, you can draw geometric shapes, well-known patterns, for example, Scottish - it all depends on the flight of fancy.
With a combination of shades, you can and should experiment, but it is important not to overdo it. It is better to look at a photo of the colors of water-based paint for walls and look for information on the combination rules on the Web - there is plenty of it so as not to make design mistakes.
Create texture with special paint
There are several ways to draw textured patterns: use additional tools or purchase special coating. Textured painting walls with water-based paint has the advantage - it hides the unevenness of the walls, but it is not deprived of shortcomings - it is not cheap, and it is difficult to clean the painted surface, especially if the relief is very small.
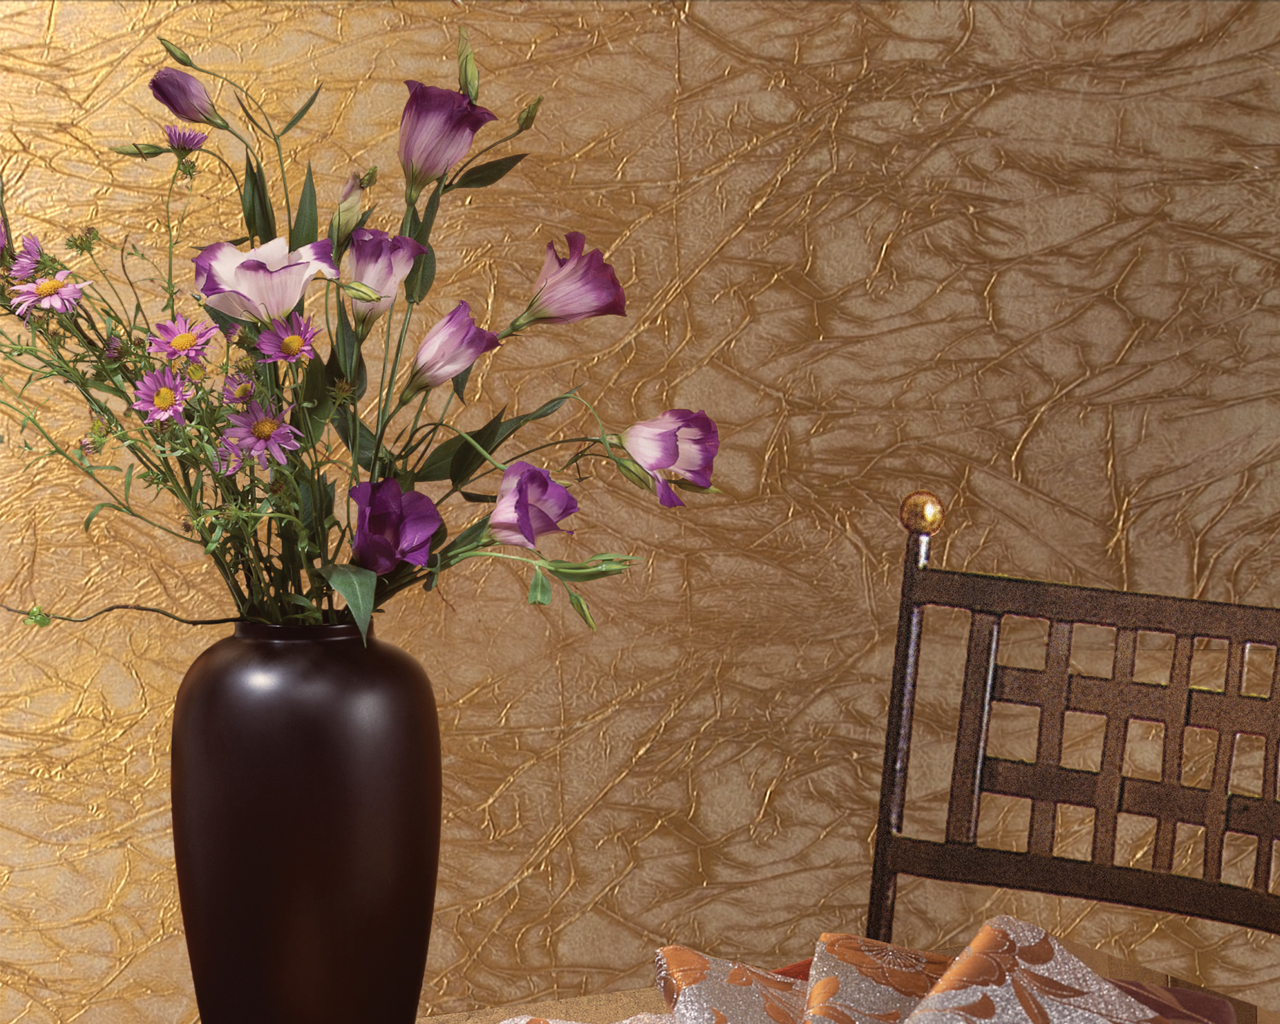
Manufacturers offer the following textures: mother-of-pearl, velvet, granite. Also, particles of shells, sand, small fragments are added to the paints. The mother-of-pearl coating resembles silk fabric. Depending on the lighting and viewing angle, the walls change shade. In general, such a coating visually increases the space of the room. Velvet paints create the effect of soft velor, because they contain special hard particles. There are bubbles of acrylic paint in the granite coating. It must be applied with a spray bottle. When hit on the wall, the bubbles burst and spread, creating a surface similar to granite. Rate nice pictures decorative painting walls with water-based paint and choose the right paint for your home.
Creating Shader Using Tools
An easy way is to spray the paint with a brush or brush. After the wall is evenly painted in any shade and completely dry, take a brush or brush, lower the tool into a coating of a different color and spray paint on the walls. If you take several shades, the effect will be more interesting. But at first, the spray can be too uneven. Therefore, it is better to practice somewhere.
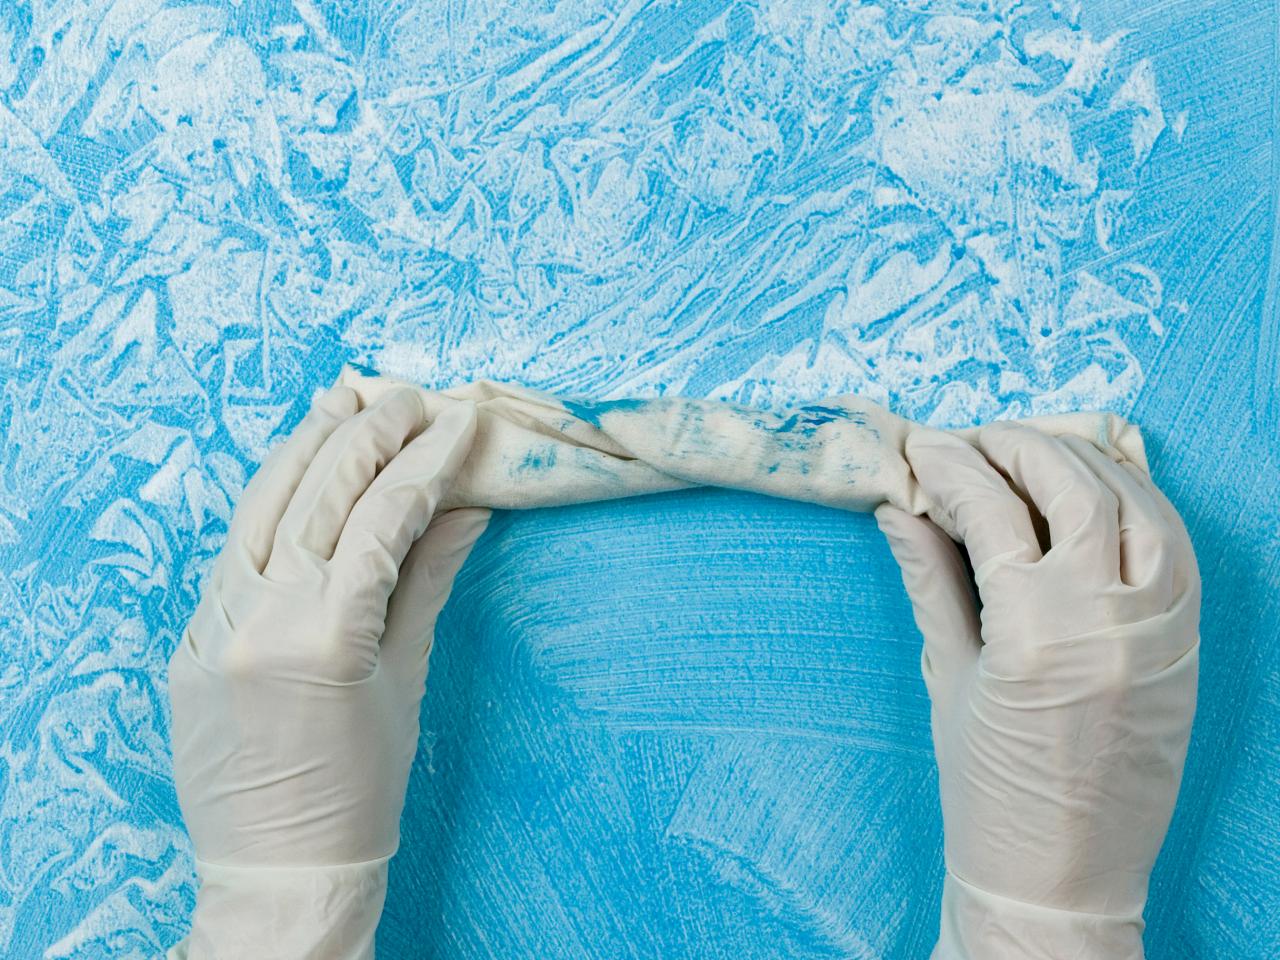
You can "improve" the roller. To do this, we tie strips of fabric to it or glue particles of dense material so that the roller leaves an unusual pattern on the wall. In special stores, you can purchase special rollers to create textures. They have two pads: paint is applied to one, and a relief pattern is applied to the second, which is interrupted to the surface.
After looking at the photo design ideas for painting walls with water-based paint, you can come up with your own unique way. For example, the farm has interesting fixtures, with which you can leave interesting contours and patterns, create reliefs. Do not be afraid to experiment, but do not forget to practice before finishing so that the result is of high quality.
Drawings on the walls
You don't have to be a talented artist to paint something beautiful on a wall. Stencils will help in creating interesting drawings. They can be purchased at the store or create stencils for walls for painting with your own hands. Especially relevant is the creation of drawings on white walls. To prevent the room from looking like a hospital ward, it is worth decorating the walls with images. See photos of whitewashing walls with water-based paint with drawings on our website, which will help generate interesting ideas.
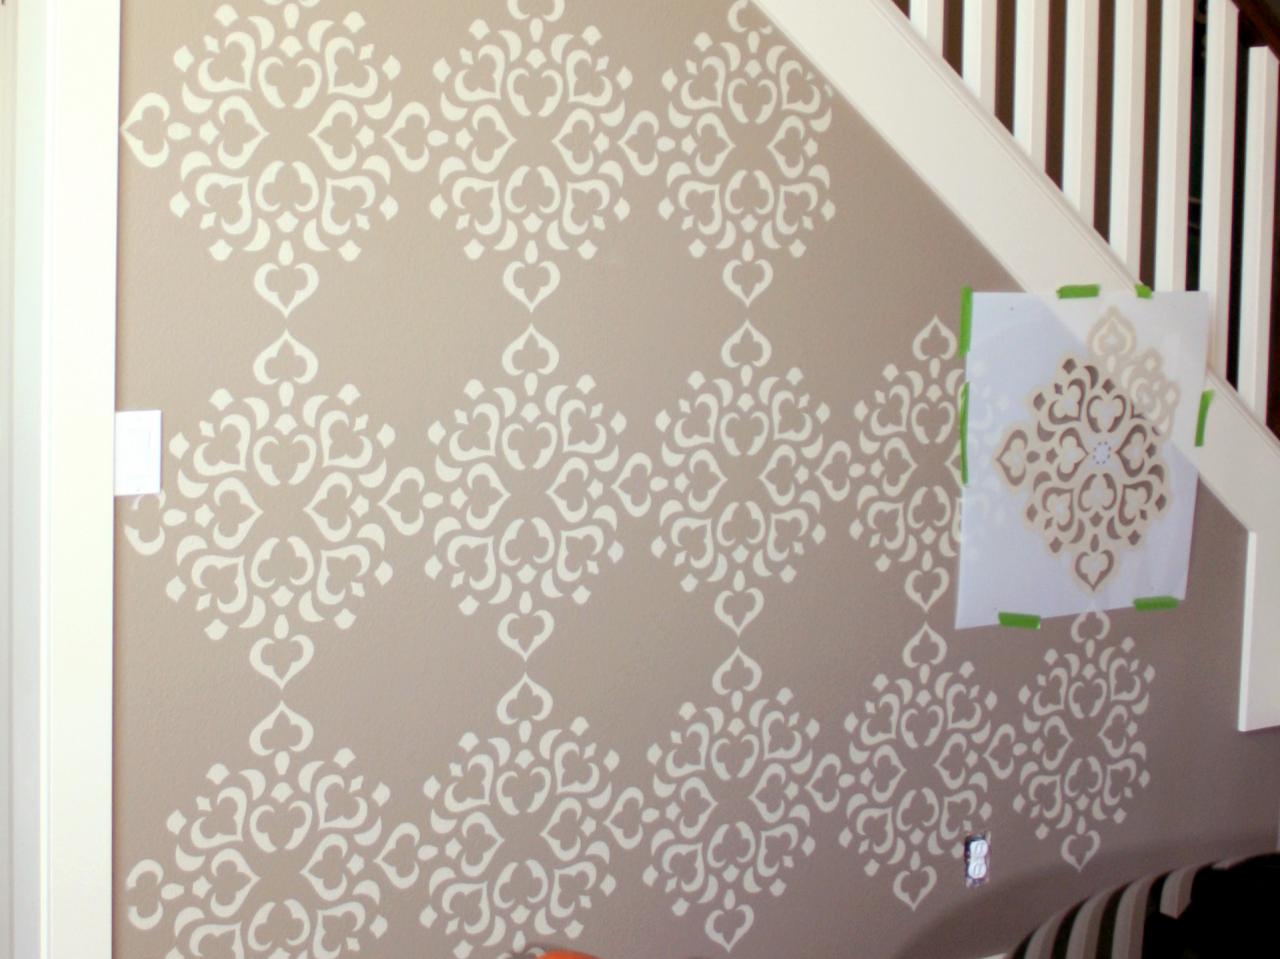
Stencils can be disposable or reusable. They are simple (one shade is used) and combined (the pattern is created from several colors). There are also stencils "on the contrary" - when the plate is solid, without gaps, and the paint is applied around it, and a contour resembling a halo is obtained.
You can make stencils for walls for painting with your own hands. To do this, use thick cardboard, plastic or thin linoleum. If you take cardboard, cover it with tape or a layer of water-based emulsion so that the stencil becomes waterproof and does not get wet. You can draw something yourself, but if this is not your main talent, find a picture on the Internet, attach it to a stencil and carefully cut out the outline with a stationery knife or scissors.
To prevent the stencil from slipping, it must be fixed. Professional ones are made on an adhesive basis, and home-made ones can be glued with ordinary tape. You can paint the area in the stencil with a brush, roller, spray gun and even a foam sponge - it depends on the complexity of the pattern and the number of small details. Look at our website for a photo of painting walls with water-based paint with a pattern to be inspired to create your own unusual stencil.
If you have to paint the walls with water-based paint, the design, photos, ideas and videos from our article will help you understand the intricacies of this process and do it yourself. On the one hand, everything is easier than it seems, but only if you are well prepared.
The choice of water emulsion for walls
The composition of water-based paints is different. Some are intended only for indoor use, and even then they are unstable, and the walls painted with them quickly lose their attractive appearance. Others are designed for outdoor work and the walls after painting are able to maintain the desired quality for years. In this regard, the choice of colors is determined by what is expected of it.
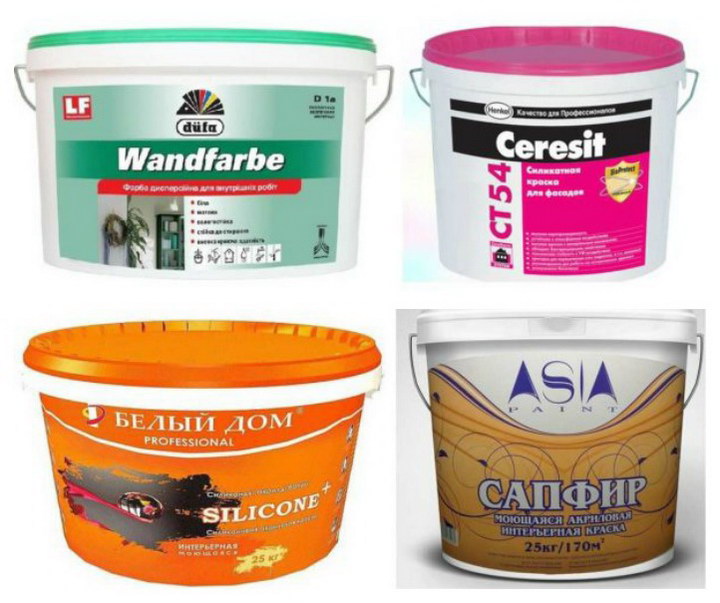
Water is used as the basis for any water emulsion. The substance consists of polymeric or mineral particles. When stained, water evaporates, and these particles are able to form a film. Such coloring compositions can be as follows:
- Mineral water emulsion . The technology of their manufacture involves the presence of lime or white cement. good property is an excellent grip on almost any surface. But the fact that they quickly burn out can be attributed to the disadvantages. They are easy to damage, and when touched, they can be wiped off. Their price is low, but they are still not very popular.
- silicate paint . The composition of such paints is characterized by the presence of liquid glass. It is this that gives such compositions a special resistance to external factors. At the same time, the wall acquires excellent vapor permeability, and lasts for almost 10 years after painting.
- Acrylic based paint . The paint lays evenly on the surface, even capable of tightening small cracks. It will hide such flaws if the preparation of the wall is not done well enough. In the event that the paint does not contain additives, it has a high hygroscopicity. By the way, because of this, you can only work with it in dry rooms. If latex is added to such paint, then it acquires water-repellent properties. This makes it possible to use it in rooms with excessive moisture release. Its disadvantage is the low ability to pass steam. In this case, the surface may be covered with condensate. The price of such paints is average and today they are considered to be the best of the entire range of products of this kind.
- Silicone water emulsion . Such paints are new and such products have appeared on the market quite recently. When painting, a rather dense film is created. It has the ability to tighten deep cracks. positive moment is that such paints are capable of passing steam. The disadvantages include their high cost.
Picking the right ingredients is only half the battle. We still need to decide on the manufacturer. There are several options here. It's better to give preference famous brands. It is better to pay more than to repaint later.
When making a choice, you should pay attention to indicators related to the volume and consumption of paint. The dimensional value of the flow rate is g/m2. For different colors, it can differ significantly. For example, expensive paints have a small consumption. Comparing the volume of the room with the volume and consumption of paint, it is easy to calculate how much of this will be needed.
Wall preparation
Before starting work, the walls must be prepared without fail. It is desirable to achieve a perfectly flat surface of the wall. The surface must be puttied or covered with wallpaper intended for painting. If the wall was previously painted with oil paint or whitewashed, they cannot be covered with a water-based emulsion. The surface is pre-cleaned.
Paint removal
To remove the old water-based emulsion, the wall should be wetted hot water. This can be done with a roller. After 5 minutes, these actions must be repeated. After the second pass, the coating usually begins to swell, after which it can be easily removed with a spatula. Some difficult areas are wetted again.
We close up defects and putty
When working with water emulsions, you must immediately get rid of the idea that such paint will hide defects, on the contrary, it will only emphasize them. The only exception is silicone emulsion. She can still hide small flaws on the surface of the walls. But it is better to prepare the wall as expected.
First putty notches and cracks. After that, they are primed. Before puttying, the crack is artificially expanded and everything that can fall off in the future is removed. Then everything must be carefully cleaned and smoothed out all the bumps.
Padding
The choice of primer depends on what kind of paint will be used in the future. If applied acrylic paint, then, it is necessary to take an acrylic primer. The primer is applied with a roller.
Priming will provide a circumstance in which the paint will hold better. In addition, the consumption of the paint itself is also reduced. The primer closes the pores, as a result of which the area of the absorbent surface decreases.
Technology and coloring rules
In the basic version, the color of the water emulsion is white. It can be easily changed if you add a certain color. Currently, more than 200 shades can be obtained in this way.
Tinting can be done directly in the store, where it will be done in a special machine, or you can buy the necessary pigment and do it yourself. The difference is that self-cooking is approximate and the color is determined "by eye", and in the machine this is done through a special program.
The process of mixing paint with pigment is carried out at a time. In the future, it will be problematic to prepare the same shade, even for a car. Therefore, it is necessary to prepare the composition with some margin.
![]()
If the color is selected independently, then at first the paint is slightly diluted with water. Usually initially it has a thick consistency. Then color is gradually added to it in a thin stream. This can be done manually using a wooden spatula, but it is better to do this with a drill with a special nozzle.
The tool must run at the lowest possible speed. Everything is thoroughly mixed until the desired shade is obtained. You can't start painting right away. You have to wait a bit - the foam should settle.
What is the best roller to use?
Rollers differ in the material for their manufacture.
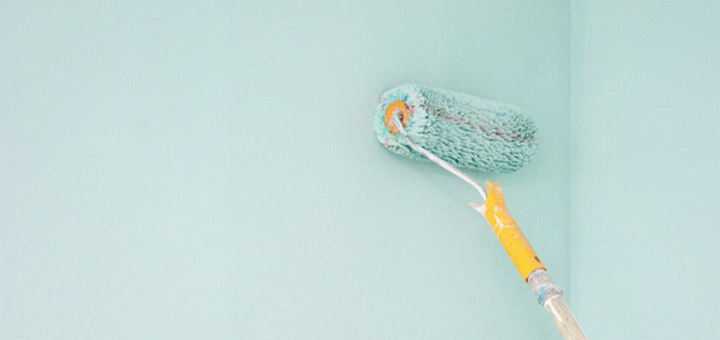
- Foam rubber . The price of such products is negligible. Their disadvantage is that they are able to absorb too much paint. As a result, bubbles may form on the walls. The wall after painting will be rough. It is better if there is a roller of the highest density. True, it is not easy to find such a product for sale.
- Velours . Rare item. Velor has a slight ability to absorb, therefore, when painting a wall, it will have to be dipped in paint more often than rollers made from other materials. But the paint lays down very evenly.
- Pile . Such a roller would be the best option. The length of the pile affects the thickness of the paint layer. Often rollers are made of natural fur. Such products have a significant service life. A fleecy roller is best suited when working with wallpaper for painting. But it is better not to use furry products, too much splashing.
Painting process
Before painting the plinth must be removed. If this is not the case, then masking tape should be glued on them. This fully applies to window sills and platbands. Masking tape will also be required to mark the boundaries of the painting on the wall. If the ceiling is already painted, then sticking adhesive tape on it would be useful. Otherwise, it can just get dirty.
There is one nuance here. The adhesive tape must be removed immediately after painting. Otherwise, the paint on it can dry out. If this happens, it will be very problematic to tear it off.
The paint is poured into the paint tray. The roller is supplied with a handle of sufficient length. This is necessary in order to be able to paint under the very ceiling. What to attach to the roller, everyone decides for himself. It can serve as a wooden stick or a plastic tube.
To start the painting process, choose one of the corners. It is necessary to pass the corner itself not with a roller, but with the help of a brush. One of the corners under the ceiling base is selected. Then the roller is dipped into the coloring composition, squeezed out on the pallet platform and smoothly driven up and down the wall. The upper border of the painting will be the ceiling. At the same time, several step into the already painted places. This technique eliminates the possibility of the formation of boundaries between the painted areas.
The time for which water-based paint is able to "grab" is 10 - 15 minutes. Therefore, all work is carried out very quickly.
The second corner begins to be painted over when there is a distance as wide as a roller to it. If the adjoining wall is painted immediately, then this corner can also be painted.
If the walls were previously puttied, then the paint is applied in three layers. Each subsequent layer is started only when the previous layer is completely dry.
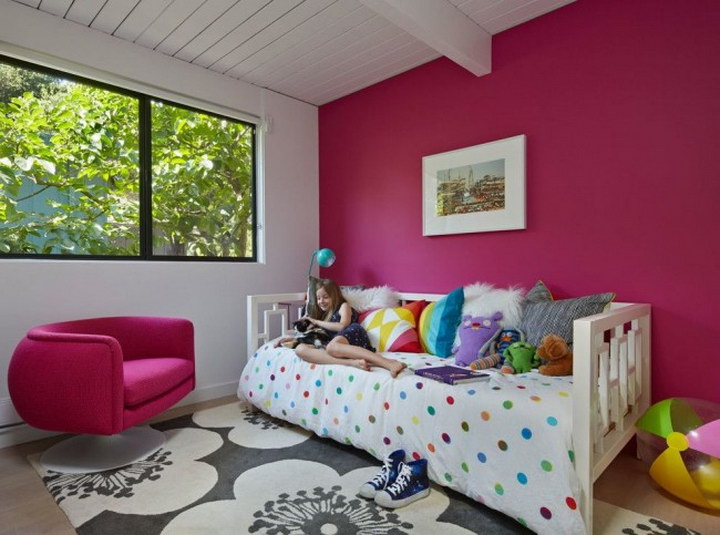
The drying time of the paint is usually indicated on the can and is usually from 2 to 4 hours. But if the application of a water emulsion is supposed to be applied to the wallpaper for painting, then one layer is quite enough.
Now you know how to paint walls with water-based paint. Design, photos, ideas and videos should help you decide on all the questions in order to do everything yourself, but if you have any doubts, feel free to ask in the comments.


