AT recent times Increasingly, decorative plaster is used as a finishing material. With its help, they create smooth surfaces and incredible patterns. No less relevant is decorative plaster in the toilet and bathroom. You can buy it at any major hardware store. You should only understand its types, on which the service life and quality of the coating depend. The article provides examples of popular types of plaster, from which you can choose the option that suits you for the price and method of application.
Positive and negative aspects of finishing with decorative plaster
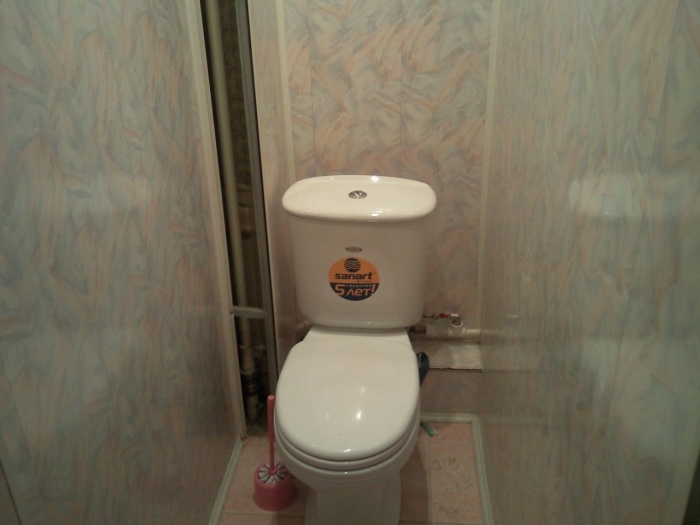
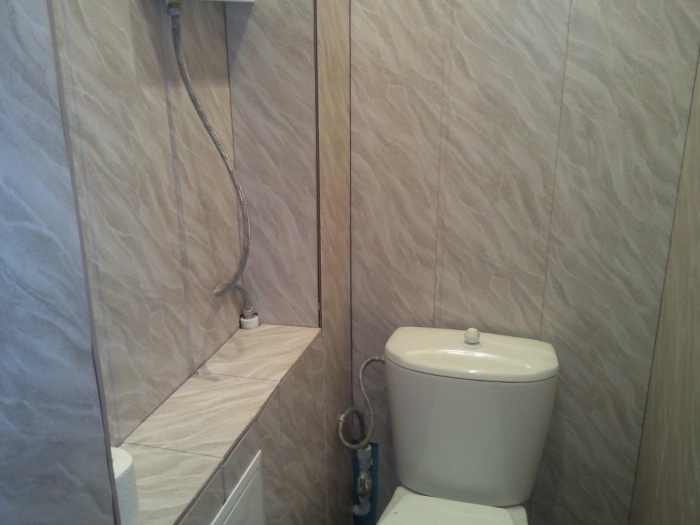
Just a few years ago, finishing the toilet and bathroom was a challenge due to the high humidity that is observed in these rooms. Modern options finishing materials offer the widest range, among which decorative plaster for the toilet and bathroom is the most acceptable.
For moisture resistance, acrylic and special additives are added to decorative plaster. Thanks to them, the finish during operation retains its appearance and is not susceptible to temperature fluctuations.
Advantages of decorative plaster
Due to its special composition, the decorative mixture absorbs moisture and steam from the air when its percentage exceeds the standard level. In dry air, plaster is able to release moisture, stabilizing the level of humidity. These properties are not present in tiles, which is a traditional material for finishing the toilet.
Ease of maintenance. The surface of decorative plaster can be cleaned with a brush and detergents. Moreover, in accordance with modern technology the surface after applying decorative plaster must be treated with antistatic solutions that prevent dust and dirt from settling.
Cons of decorative plaster
The very first quality why many refuse to buy decorative plaster is the high price of the work. If you are not a finishing professional, then you will have to hire finishers, whose services cost about the same. How much and the price of the material. If you decide to get rid of the decoration in the form of decorative plaster in the toilet, you will have to prepare for a dusty process. This can also be attributed to the minuses.
Types of decorative plaster
Different types of plaster have their own distinctive characteristics. Therefore, when choosing, you should pay attention to this feature of the finish.
silicate plaster
This is one of the strongest types of finishing material of this type. Its service life is up to 60 years. It is made on the basis of silicates, which give the finish high moisture resistance and vapor permeability. It is resistant to fire and the spread of fungus. All these properties are necessary to create a comfortable atmosphere in the bathroom.
mineral plaster
Due to its vapor permeability, the material has proven itself as a decorative finishes bathrooms and toilets. It maintains a normal microclimate in these rooms. Finishing way to maintain its quality for over 30 years.
Acrylic plaster
According to its structure, a plastic material, which, after drying, has increased moisture resistance. Serves up to 50 years.
How to apply decorative plaster finish?
The process of plastering the walls in the toilet is no different from the standard interior decoration walls. The difference in use can be seen only at the last stage of finishing, namely during the application of a leveling layer with waterproofing properties. It is applied in different ways.
Uniformly rough surface
To create a skin-like surface with small pimples, use a foam sponge, broom or crumpled paper wrapped in a plastic bag. A feature of the process is that the final layer is applied on a wet surface.
grooved surface
On a fresh layer, smooth strips are punched with a spatula. During which an imitation of brick or stone masonry is created.
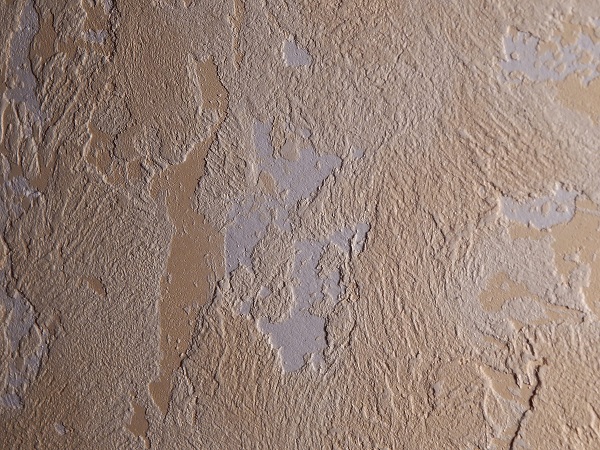
Rough-striated surface
The basis of the working solution is diluted with large fractions, the elements of which create large furrows on the surface. The solution is rubbed with a standard grater in a vertical or horizontal direction. Thus, characteristic furrows are formed.
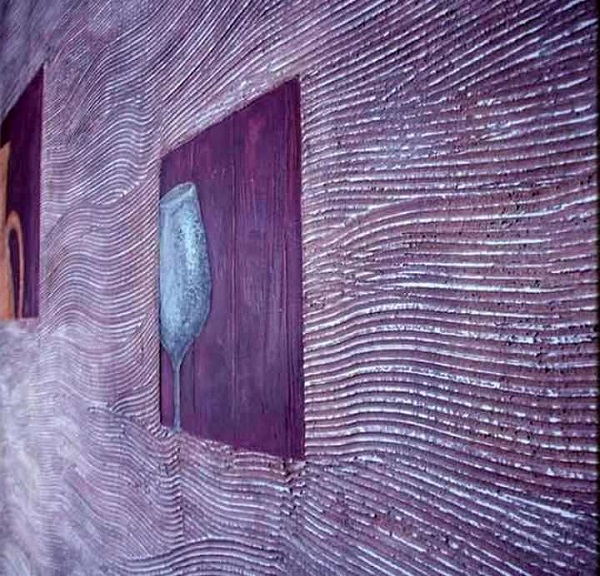
Surface with Venetian pattern
This is the most difficult option for finishing with decorative plaster from the existing ones. Layers of the mixture are applied to the walls, which have different shades. Finished surface subjected to sequential grouting and scraping. This creates a feeling of imitation of natural masonry.
Glazing surface
Finishing fascinates with its unusual texture and effect of antiquity. A blurred background is created.
flock coating
As a result, an imitation of a mosaic tile is created.
Feature of applying plaster
The technology for applying decorative plaster in the toilet is no different from a similar process in other rooms. There are several nuances that you need to pay attention to first.
The walls in the bathroom should be primed several times with all care. The solution gives the surface strength and protects against moisture penetration. After the first layer, you should wait for it to dry completely. The second layer is applied immediately before using the plaster. It is best to use a primer with quartz sand for such a finish. Due to its content, adhesion to the surface to be decorated increases several times.
Any repair work begins with planning and choosing the right building materials. To do this, you should visit the relevant stores, view thematic sites and choose the best suitable plumbing and building materials. Usually major repairs in the apartment begin with a bathroom and toilet. In these rooms, there is almost always high humidity, so you should take care of ventilation. Also, the priority issue is the installation of communications and the replacement of plumbing. Finishing the toilet takes place after the installation of pipelines, ventilation, electrical wiring, etc.
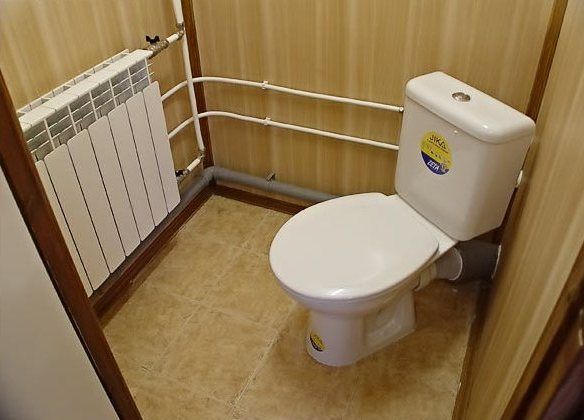
The main finishing materials that are used for repairs toilet room, are wallpaper, tiles and plastic panels. The most popular decoration of the toilet with pvc panels - this material has excellent characteristics and an affordable price. Also, an indisputable advantage is the ease of installation, which allows you to carry out repairs with your own hands. Of course, you can use cheaper and fast way- glue washable wallpaper, but in a couple of years you will have to start all over again. If you decide to stop on the tile, then without the appropriate skills you should not do the installation yourself, it is better to turn to professionals.
Finishing the toilet with plastic panels
When choosing plastic panels, first of all, pay attention to the strength of the material. For the ceiling, this parameter is not the main one, but there is more load on the walls (the presence of shelves, hangers, etc.), so you should choose a more rigid panel that will not vibrate when touched. It is also worth paying attention to the size, because the wider the panel, the smoother and more accurate the frame base is required. And, of course, you need to choose a color shade that best suits the overall design of the room.
by the most milestone do-it-yourself toilet finishing is the installation of a frame on which plastic panels will be mounted. As a basis, you can use special rails with dimensions of 30x30 mm. When buying this material, it is necessary to choose optimally even rails, without all sorts of flaws. Also, you should not save on fittings, because the strength and aesthetic beauty of the entire structure depend on it. Choose with a margin, as errors are possible during the first fit.
Installation of PVC panels
If your toilet has high humidity, you should take care to protect the wooden slats from dampness and fungus. To do this, the entire surface is treated with a special antiseptic composition, which significantly extends the life of the entire structure. Prepared rails are installed in the corners of the room, using a plumb line for precise installation. Fastening is carried out with self-tapping screws with a step of 40 cm, for this, holes are drilled in the wall, into which special plastic stoppers. Bars are attached to the main vertical rails with fixing screws in increments of about 50 cm.

After the frame is ready, the fittings are installed, while the step between the mounting nails is up to 35 cm. The panels are cut to the required size, inserted into special grooves and nailed to the frame rails. This process is quite simple and does not cause any particular difficulties. Finishing the toilet in the apartment, in the absence of the necessary skills, will take a lot of time, but you can do the whole process yourself.
Do-it-yourself repairs in an apartment are always the pride of any home master. But what if there is absolutely no experience in construction and decoration?
In this case, it is better not to touch complex rooms, such as a living room or a kitchen, but you can work out, quite well, on the decoration of the toilet. Firstly, this is the smallest room in the apartment and there is not a wide variety of finishing materials. In addition, if in the end nothing happens, you can turn to specialists, and they will redo everything, without tangible damage to the wallet.

The most common material for finishing the toilet is plastic panels, and it's not just about the ease of installation, there whole line advantages that speak in favor of this option:
- A wide variety of colors and patterns that are great for decorating the toilet.
- Ease of aftercare. Plastic panels are absolutely not afraid of water and detergents.
- Minimum financial costs for finishing work, even when taking into account all the necessary components.
- There is no need for a huge number of tools. Everything you need to finish the toilet plastic panels found in any home master.
The choice of plastic panels for finishing the toilet

As is often the case, due to the high demand for plastic panels, many unscrupulous manufacturers have appeared on the market. It is very difficult to determine the quality of plastic by eye, and to the average buyer they all seem the same. But this is not so, and in order not to become a victim of scammers who save on the quality of their products, you need to follow a few simple tips:

The right choice of panels for the toilet is already 50 percent the key to a successful repair. It's much easier to spend an extra hour in the store than redoing all the decoration next year, or even earlier.
Important ! When buying plastic panels for finishing the toilet, you should always take two to three segments in stock.
If at the end of the repair it turns out that the initial calculations were incorrect, there may no longer be exactly the same panels in the store.
Preparation for the installation of plastic panels
A good master, any repair starts with preparatory work and making lists of everything you need. If this is not done, you may have to run to the hardware store more than once for the missing materials or tools. Often, this takes much more time than the entire renovation, especially when it comes to such a small room as a toilet.
List of necessary materials for finishing the toilet
- Plastic panels with a small margin.
- Decorative elements: corners, plinths. It is also necessary to take with a margin.
- Wooden beam with a thickness of not more than 2 cm. The quantity is determined based on the installation horizontally, with a distance of approximately 30-50 cm.
- Impregnation for wood, preventing rotting, and a brush for its application.
- Wall primer with antibacterial effect and roller for its application.
- Dowels with a diameter of 6 mm and a length of 60-80 mm.
- Staples for a construction stapler.
- Glue for plastic. It will be needed to install external decorative corners.
- Wood screws. Needed to finish the riser in the toilet with plastic panels.
- Plastic wrap or thick cloth to protect the plumbing in the toilet.
Advice ! No need to save on consumables such as screws or staples. Fasteners are never superfluous in the economy, and in finishing works, its deficiency can affect the service life of the entire repair.
List of necessary tools for finishing the toilet

- Perforator or drill with impact mode, as well as a drill for them, corresponding to the selected dowels.
- A hammer.
- Pencil, tape measure.
- Hacksaws for wood and plastic, or electric jigsaw.
- Sharp construction knife.
- Metal spatula. Needed to remove old paint from the walls, if any.
- Construction stapler.
- Level with horizontal and vertical indicators.
Warning ! you should not cut the bar and plastic panels with a grinder. As a result, a lot of acrid smoke is formed, which the neighbors can take for a fire, and then they will have to explain for a long time.
When both lists are collected and everything you need to finish the toilet is at hand, you can get to work.
Preparation of the base for plastic panels
The quality and durability of any finish largely depends on the preparation of the base. Unlike more complex rooms in an apartment, decorating a toilet does not take much time and effort, so each step must be given Special attention. It's better to spend two extra hours today than to redo everything later.
First of all, it is necessary to completely clean the walls and ceiling in the toilet from old finishes or paint. This is done with a spatula and a light hammer, which tap the surface. Coating that has become unusable will immediately disappear.

Next, the bars are prepared. They must be cut to the desired length based on the horizontal fastening to the wall. When all the wooden elements are ready, they are treated with impregnations and taken out to dry on a balcony or stairwell.
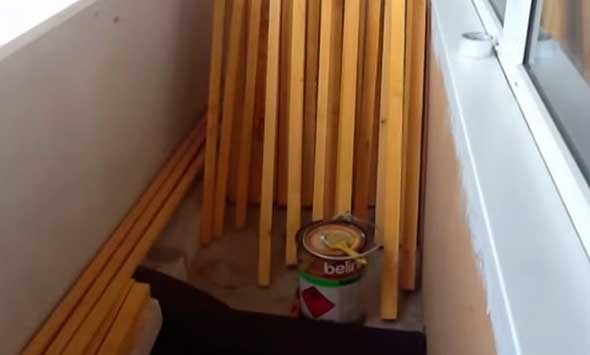
Important ! The size of the bars should be a few centimeters smaller than the toilet room. This is necessary so that the tree has the ability to expand.
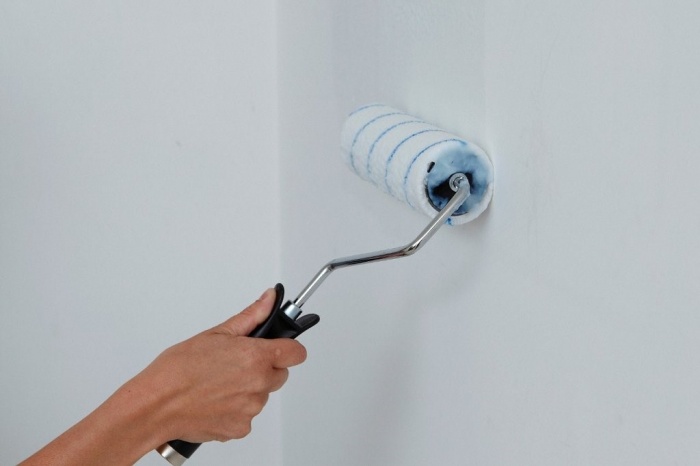
In the meantime, the bars are drying, there is time to continue preparing the walls in the toilet for finishing. They need to be plentifully passed with a primer-antiseptic, it prevents the formation of mold and harmful fungus. Impregnation is done using a foam roller. It takes about an hour to dry completely, at room temperature, which means you can take a short break and take a breath.
Installation of wooden crates under plastic panels
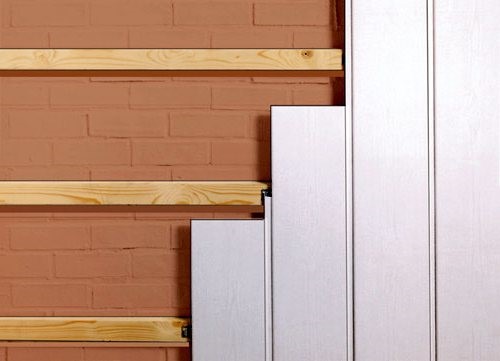
When the walls in the toilet and the wood are completely dry, you can proceed with the fastening. First of all, a bar is fixed a couple of centimeters above the floor, around the entire perimeter of the toilet room. In the same way, a beam is passed under the ceiling.

If the ceiling in the toilet will also be finished with plastic panels, then the crate is also needed on it, the fastening technology is no different from the wall:
- The bar is applied to the surface, and a hole is drilled through the tree into the hay using a perforator. The first fastening should be about five cm from the edge. A dowel is driven into the hole. The second edge is attached in the same way. Now, when the bar is fixed, it is additionally strengthened, with a step of 30-50 cm between the dowels.
- When the bars around the perimeter of the toilet room are installed, using a tape measure, the distance between the lower and upper bar is measured. It is divided into two, and another bar is attached exactly in the middle of the wall.
- The resulting two sections are once again divided in half, and the timber is placed again. Do this until the distance between the guides is about 50 cm.
- Certain difficulties may arise with communications, which also need to be finished with plastic panels. To do this, boxes are made from the same bar as the crate, which are attached to the wall and floor of the toilet. You can connect the bars to each other with wood screws.
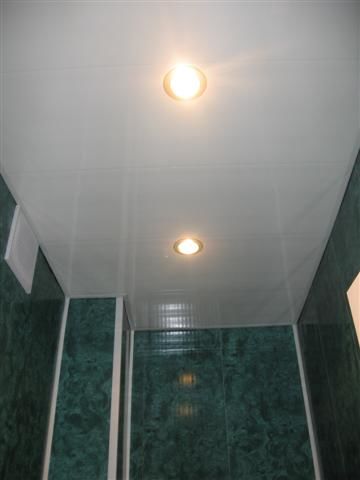
Advice ! if as ceiling lighting spotlights are planned in the toilet, the bar must be mounted below the ceiling, at least 15 cm. Do this with the help of profile fasteners.
For more details on how this is done, see the video.
Installation of plastic panels in the toilet
Before installing plastic panels, it is necessary to attach guide moldings to the corners of the toilet and to the ceiling.

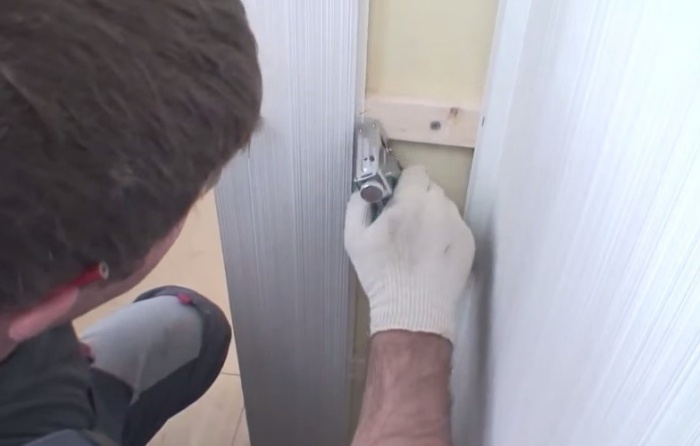
All finishing strips are fastened with staplers to the bars
Do-it-yourself installation of plastic panels in the toilet always start from the left edge and ridge to the corner. With the help of a construction stapler, fastening brackets are driven into the corner groove and ridge on the other side of the panel.
Important ! The first panel must be installed strictly according to the level. All other trim elements will be guided by it.
The second plastic panel is inserted into the groove of the first and its ridge is also fixed with staples on each wooden rail. All installation steps are clearly shown in the video
After the walls of the toilet are completely covered with panels, they finish the boxes that close the communications. Here, perhaps, each panel will have to be cut to length, subsequently these places will be closed with decorative corners.

In the same way, plastic panels are mounted on the ceiling of the toilet. But here it is important to immediately make holes in the places of the lamps, and bring out the electrical wires.

Installation of decorative elements on plastic panels
The easiest way is to use the outer corners in the decoration of the toilet, they are much more convenient to install and are not inferior in quality to those into which plastic panels must be inserted.
Glue for plastic is applied to the corner and applied to the junction of the panels. Good glue sets in a few seconds, so it is important to have time to glue the corner before it dries.

Using the same glue, floor and ceiling plinths are fixed. Possible excess glue is removed with a soft cloth, and on this, finishing the toilet with plastic panels with your own hands can be considered finished.
The matter remains for the installation of the necessary accessories and fixtures, but this is a topic for a separate discussion.
Conclusion
As you can see, there is nothing complicated in decorating a toilet with do-it-yourself panels. All stages of repair will take a maximum of two days. Even if this is the first independent repair in the apartment, it will allow you to gain invaluable experience, and perhaps the next step will be more complex premises that also require repair and decoration.
And in order to avoid the most common mistakes when repairing a bathroom, you can watch a video
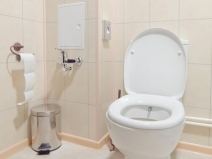
The toilet is the same important room in the apartment as any living room, and therefore needs a high-quality finish and beautiful design. This stage of repair includes cladding of walls, floors and ceilings, as well as replacement of doors, plumbing fixtures and fittings.
Before deciding how to finish the walls in the toilet, it is necessary to carry out work to replace the water and sewer pipes in order to avoid problems and new repairs later. When the preparatory activities are completed, you can proceed to decorating.
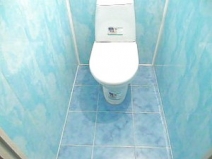
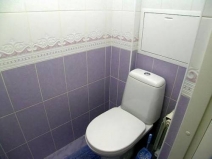
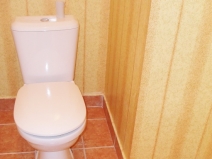
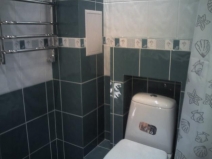
Toilet finishing options: tiling, wallpaper, panels, photo
Finishing the toilet should be not only beautiful, but also practical. It is advisable to choose decorative coatings that do not absorb odors and are easy to clean. The most requested are Wall panels, tiles and, oddly enough, wallpaper.
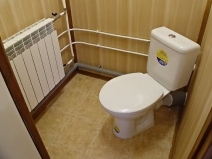

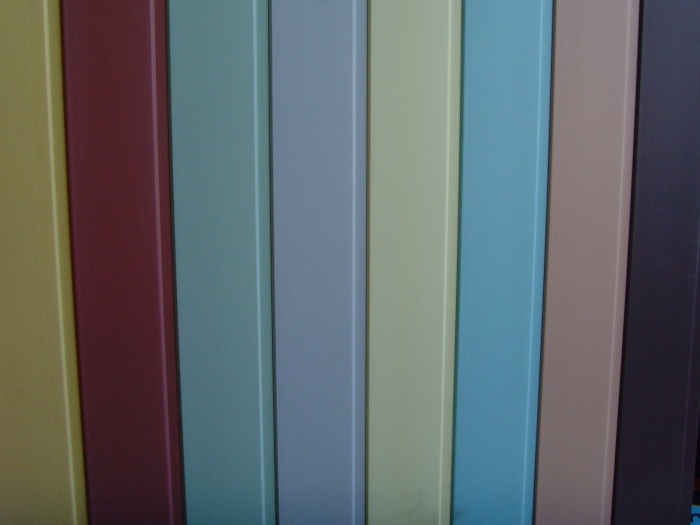
Plastic panels are an economical and convenient way to finish the toilet with your own hands. The cost of one square meter does not exceed $ 7, the richness of the color palette also pleases. The consumer today is free to choose between classic plain panels, bright patterns with abstract patterns and patterns, as well as sheets that imitate one or another texture (marble, wood, malachite, etc.). The length of one PVC sheet is 2.5-3 meters, this is enough for wall cladding along the entire length.
Finishing the toilet with plastic panels is possible not only on the walls, but also on the ceiling. True, unlike PVC wall sheets, which are usually 30 cm wide, it is better to use plastic about 20 cm wide for finishing the ceiling. In this case, the decorative coating will look more harmonious and neat.
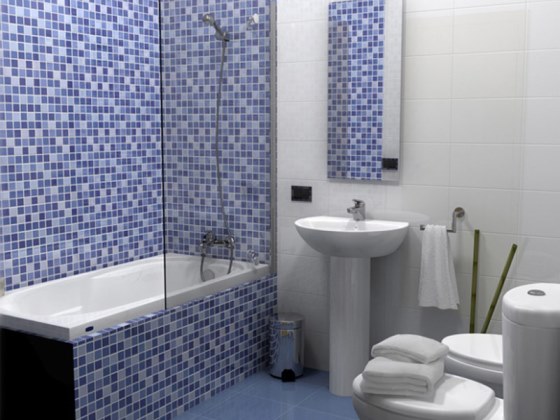
The tile is a classic of the genre. For finishing the toilet with tiles, material of different sizes is suitable. As a rule, rectangular elements 20x30 cm in size are laid on the walls. In order to visually expand the interior space of the restroom, it is recommended to choose tiles covered with glossy glaze.
On the floor, the tile also feels good. However, in this case, it is better to finish the toilet with tiles using a material with a matte surface. Rough coating will protect you from falls and injuries.
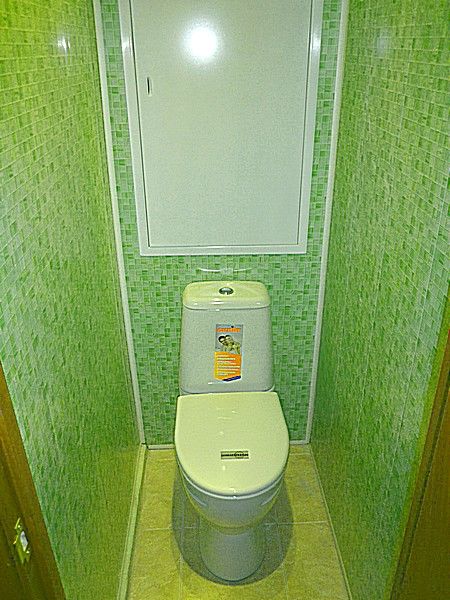
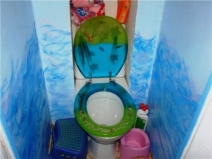
Wallpaper for the toilet is a rare, but possible finish option. When choosing wallpaper, pay attention to their properties. It is desirable that the canvas be moisture resistant and have an oilcloth surface. Also suitable vinyl wallpapers. The latest fashion hit was the so-called liquid wallpaper in the toilet, photos of which can be viewed in our gallery.
Finishing the toilet with plastic panels photo, how to decorate the toilet with panels
Of all the listed options for finishing the toilet, it is easiest to work with PVC wall panels. To clad walls with them, it is not necessary to first level and prime the surfaces. It is very easy to hide wiring under PVC strips.
Finishing the toilet with panels, the photos of which we have on our website, comes down to three main stages:
- surface preparation;
- creating a crate;
- actual installation of panels.


The preparation of the work surface involves the removal of the old coating and the removal of unnecessary things outside the toilet room. If before the repair there were wallpapers on the walls and ceiling, then installation can be carried out on top of them. The main thing is that the room should not be too wet, otherwise a fungus will develop on the old damp paper under the new coating.
When creating a crate, a timber with a size of 20 * 40 mm is traditionally used, but given the specifics of the room, it is more reasonable to make a crate from a metal profile. The distance between the elements should be no more than 500 mm. Here's what the toilet trim might look like, the photos are shown a little higher.
Actually installation of panels is rather simple. They can be attached to the crate with self-tapping screws with a press washer or staples of a furniture stapler. Each next plank is inserted into the previous one, forming a single glossy coating. The advantage of PVC sheets is that they are usually produced with an abstract pattern that does not need to be adjusted during operation.
To make the toilet look not only well-groomed, but also attractive, pay attention to the choice colors finishing material. Visually expand the space will help panels of a light palette, namely pale pink, sand, deep, pistachio or beige tones.
Toilet decoration: ideas and solutions
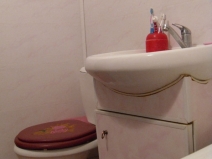
What is better to use for finishing the floor in the toilet?
The main qualities that the material used to finish the floor in the toilet should have are waterproofing and vapor barrier. And here the most common classic option is toilet tiles, which are distinguished by their durability, moisture resistance and practicality. Never lay wall tiles on the floor, as they are not able to withstand significant loads. In addition, such a surface has a low coefficient of friction, and you will constantly slip. The tile in the toilet should be not only attractive, but also practical. Keep this in mind when considering the options available in the store.

What are the options for wall decoration in the toilet room?
Many, starting repairing the toilet, think about how to finish the walls. There are basic finishing options:
- ceramic tile. This is the most expensive and complex finishing option, but at the same time, the most practical and attractive;
- plastic panels. This option is the most optimal in terms of price-quality ratio. The video below shows how to sheathe a toilet with plastic quickly and easily;
- washable wallpaper. This option is cheap, but, unfortunately, not durable;
- combined option. A suitable option is to finish the bottom with tiles, and the top with plastic or wallpaper. In this case, it is desirable that the border between the finishes runs approximately at the middle of the height of the wall.
How to sheathe the ceiling in the toilet with PVC panels?
Toilet trim PVC panels can be done by hand. First you need to measure the perimeter of the room and, according to the dimensions obtained, purchase PVC panels, starting strips, profiles (27x28 and 60x27), dowel-nails (6x40) and self-tapping screws (3.5x11). Profile 27x28 must be cut and fixed around the perimeter with dowel-nails. Insert jumpers into the mounted profile (profile 60x27) and fix the structure with self-tapping screws. Starting strips are also fixed around the perimeter. Cut the panels, insert the first one into the starting bar, fix its other side with the lock in the “groove” with self-tapping screws to the 60x27 profile. The following panels are mounted in the same way. Thus, finishing the ceiling in the toilet is carried out quickly enough.

What wallpaper to choose for the toilet?
Repairing a toilet is a responsible matter, and there are a lot of material options for walls, floors and ceilings. Among others, a rather unexpected option is gaining more and more popularity: a variety of wallpapers for walls in the bathroom. Like any wallpaper, they are very easy to stick, and use modern materials allows you to apply colorful wallpaper even where there is high humidity.
For finishing the bathroom are suitable:
washable wallpaper having a top waterproof layer;
vinyl wallpaper that can withstand regular contact with water without damaging the structure;
liquid wallpaper is a practical option. The only condition for applying this material is the presence of even walls;
glass wallpaper - there are no paper fibers in their composition, so they are not afraid of liquid. These wallpapers are excellent decorative finishes.
photo wallpapers made of a unique material that is resistant to steam and liquids.

Which tile is more convenient to lay: small or large?
To date, there is a huge selection of tiles, both in color and in size. Large tiles (more than 25x40cm) are mainly used to quickly cover the toilet. Buy material with a margin, because the tiles will have to be cut. Small tiles (10x10cm and 15x15cm) are also not difficult to glue, but special attention should be paid to the seams. In the latter case, you will also need a lot of grout. It is better to choose the classic sizes of tiles, which are easy and convenient to lay. Using various styling options, you can make an original and attractive tile finish for the toilet, photos of the finished work can be seen below.
How to cut plastic panels correctly?
Many people know how to sheathe a toilet with plastic panels, that is, they understand what the essence of this process is. But, on initial stage works, even experienced craftsmen often face the question - how can I cut the panels? Starting and corner profiles are best cut with a hacksaw for metal, and the panels themselves can be cut with a hacksaw for wood with fine teeth (in increments of no more than 2mm). But it is better to cut the plastic panels as follows: cut the ends of the panels with a hacksaw, then, using a ruler, cut the panel from the front side with a sharp knife, fold it at the notch and finally cut along the fold line. In this way, the plastic panel will be cut evenly and correctly. 
Toilet design - how to visually expand the space?
Visually expand the space of the toilet room in three ways: with the help of colors, ornaments and patterns, as well as lighting. The use of light shades helps to visually enlarge the space. For example, many people prefer the design of a toilet made of plastic panels, you can see photos of finished interiors below. Plastic panels have a variety of colors, and you can easily choose suitable color. If you need to visually expand the space, use horizontal ornaments in the design, and if you need to make the room taller, use vertical ones. As for lighting, the ideal option is to place halogen spotlights on the ceiling or walls. 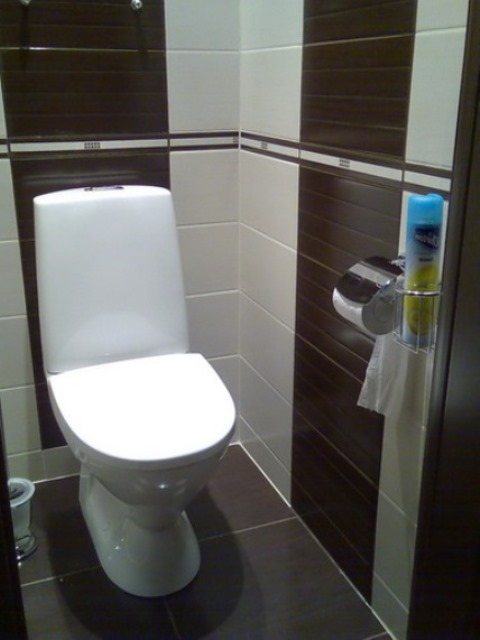
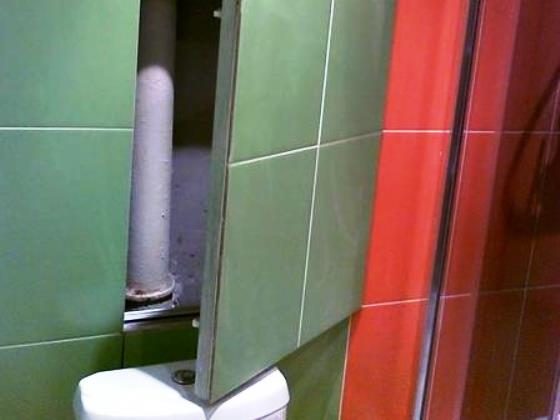
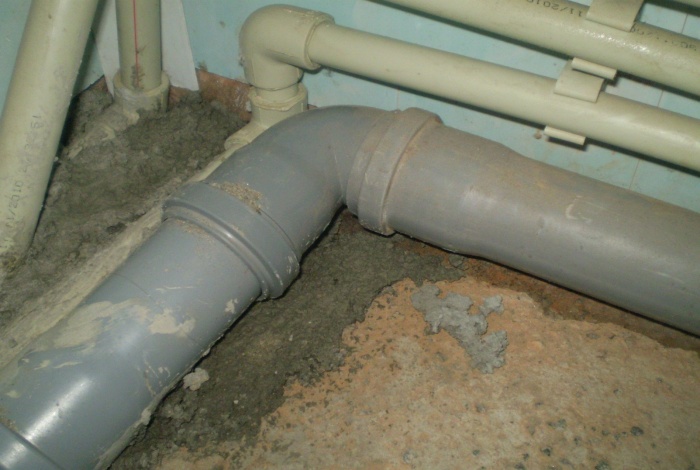
How to close the pipes in the toilet with plastic panels?
Many are concerned about the question of how to sheathe the pipes in the toilet with plastic panels correctly. First you need to install a frame made of a metal profile in the place where the pipes pass. Then you need to cut off pieces of the profile corresponding to the previously taken dimensions. These cut parts are connected with self-tapping screws. After that, the structure is fixed to the wall with screws and dowels. Next, the frame is sheathed with plastic panels, which must also be pre-cut to the desired size. Do not forget to make holes in the frame in advance to install special doors for free access to communications.